There is something wonderfully satisfying about building a tiny world one square at a time, and pixel art architecture sits right at the heart of that charm. Whether you fancy recreating a cosy cottage, a towering skyscraper, or a fantastical castle, Photoshop gives you all the tools you need to bring these miniature structures to life. This guide walks you through the fundamentals of designing your first pixel art building, from setting up your workspace correctly to adding the finishing touches that make your creation truly shine.
In short
- Setting up a small canvas with a grid system is essential for maintaining precision, alignment, and consistency in pixel art architecture.
- The pencil tool is the primary instrument for pixel art because it creates sharp, hard-edged marks without the blurring caused by standard brushes.
- Artists should organize their building components—such as roofs, walls, and windows—onto separate, clearly named layers to facilitate easier editing and experimentation.
- Canvas size significantly impacts the level of detail, with smaller canvases requiring more economical design choices and larger ones allowing for intricate textures.
- Applying a limited color palette of eight to sixteen colors creates a more cohesive aesthetic than using an unlimited range of tones.
- Depth and three-dimensionality can be achieved by applying manual shading and highlighting based on an implied light source, sometimes using techniques like dithering.
- AI tools like Adobe Firefly can assist artists by providing inspiration, reference images, or automatic style transformations that can then be refined manually in Photoshop.
Getting started with pixel art building fundamentals
Before you start placing a single pixel, it pays to get your workspace organised properly. A messy canvas leads to messy art, and pixel work in particular rewards a bit of upfront planning. The beauty of this style lies in its restraint, so taking time to prepare your document will save you countless headaches further down the line.
Setting up your photoshop canvas and grid system
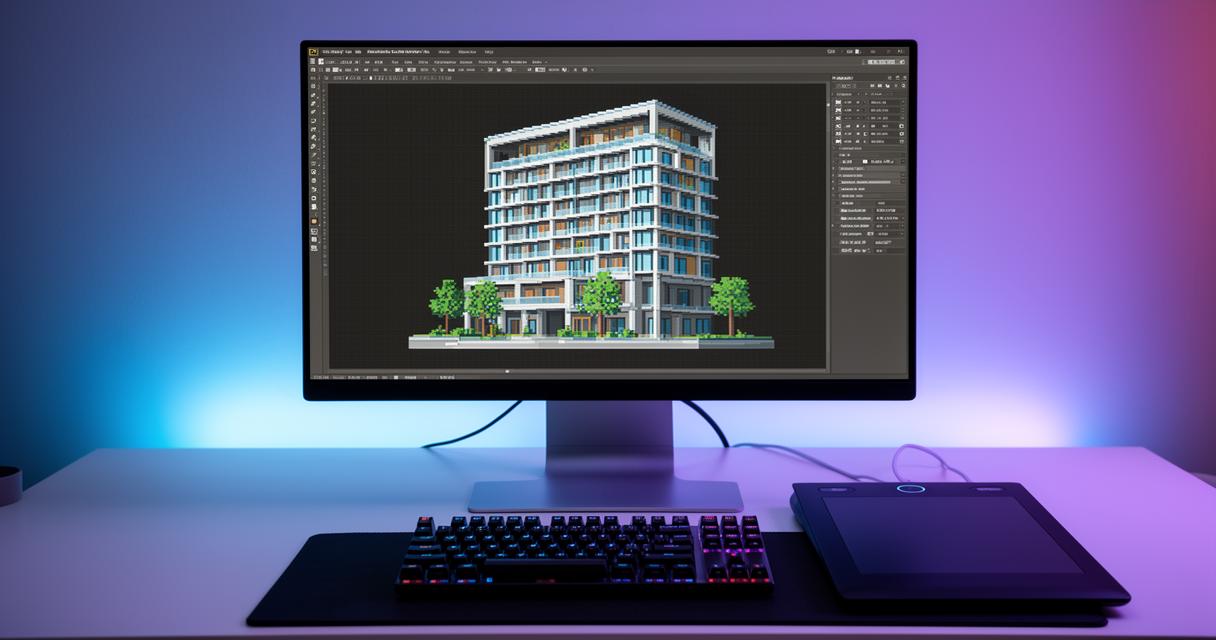
Start by creating a new document with a small canvas size, something like sixty-four by sixty-four pixels works nicely for a first attempt at a building. The trick with pixel art is to zoom in considerably, often to around eight hundred percent, so you can see each individual pixel clearly as you work. Head to the View menu and switch on the grid overlay, then adjust the gridline spacing under preferences so each square represents a single pixel or a small cluster of pixels. This grid becomes your best friend, helping you keep walls straight, windows aligned, and rooflines consistent. Many artists also disable anti-aliasing at this stage, since smooth edges rather defeat the purpose of the blocky aesthetic you are chasing.
Understanding pixel dimensions and resolution requirements
Resolution matters enormously in this discipline, arguably more than in any other form of digital illustration. A building rendered at thirty-two by thirty-two pixels will look dramatically different from one built on a canvas four times that size, so decide early on how much detail your structure truly needs. Larger canvases allow for intricate brickwork and shading, whilst smaller ones force you into cleverer, more economical design choices. If you are experimenting with AI-assisted tools such as Adobe Firefly, it is worth knowing that uploaded reference images must meet a minimum dimension of five hundred and twelve by five hundred and twelve pixels, and files need to be under one hundred megabytes in JPEG, PNG, or WEBP format. Firefly can transform an everyday photograph into a pixel art style automatically, which makes it a handy free starting point if you want inspiration before moving into Photoshop for finer control.
Essential Photoshop Tools and Techniques for Pixel Architecture
Once your canvas and grid are sorted, it is time to get familiar with the handful of tools that do most of the heavy lifting in pixel art. Thankfully, this style does not demand a huge toolkit, precision and patience matter far more than a long list of filters and brushes.
Mastering the Pencil and Brush Tools for Precise Pixel Placement
The pencil tool is your primary instrument here, set to a single pixel size for the crispest results. Unlike the standard brush, the pencil produces hard-edged marks without any blur, which is exactly what pixel art demands. Zoom in tightly and place each pixel deliberately, thinking about how it contributes to the overall silhouette of your building. For straight lines, hold shift whilst dragging to keep your walls and window frames perfectly horizontal or vertical. The eraser tool, used at the same fixed size, lets you correct mistakes without disturbing surrounding pixels. Many beginners find it useful to sketch a rough outline first using a lighter colour, then commit to firmer lines once the proportions feel right.
Organising layers to manage building components effectively
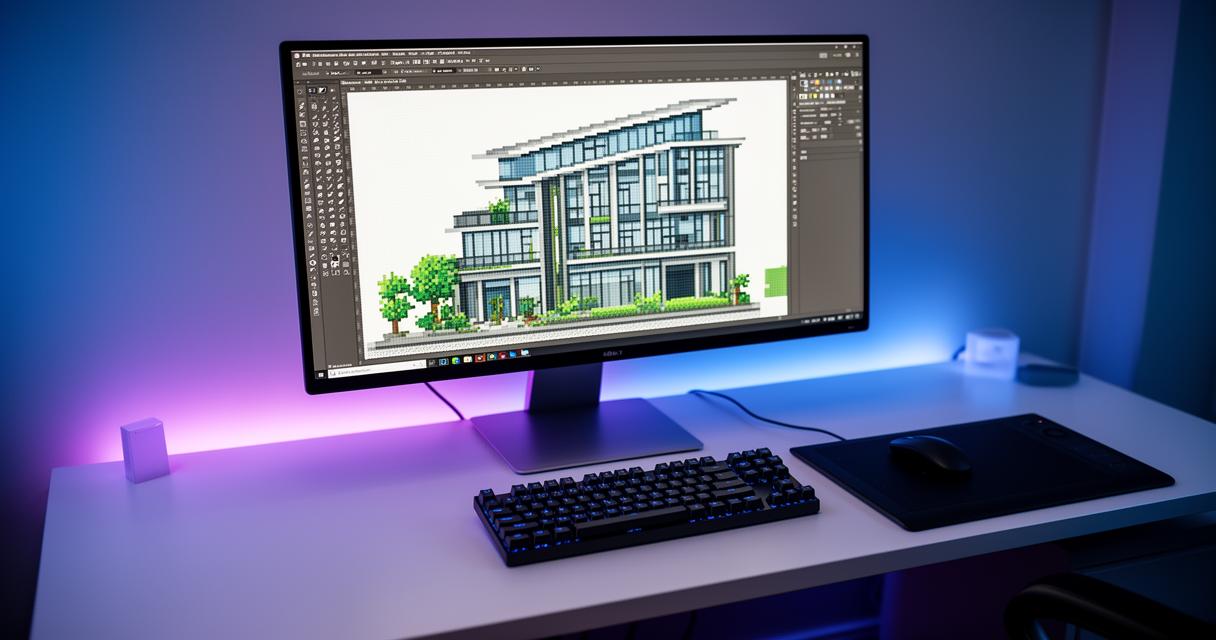
Layers are absolutely essential when constructing anything with multiple elements, and a building typically involves walls, a roof, windows, doors, and perhaps some decorative flourishes. Keep each component on its own separate layer so you can adjust, recolour, or reposition pieces without disturbing the rest of the image. Naming your layers clearly, such as roof, foundation, or trim, saves considerable time later when you need to make quick edits. This approach also makes it far simpler to experiment with different colour palettes on individual sections, since you can lock transparent pixels and swap tones without redrawing anything from scratch.
Bringing your pixel art building to life
With the structural bones in place, the real fun begins as you start adding colour, depth, and character to your creation. This stage is where a flat outline transforms into something that feels genuinely three-dimensional despite being built from tiny squares.
Selecting vibrant colour palettes and applying depth effects
Colour choice can make or break a pixel art piece, so it is worth spending real time on your palette before committing to final shades. A limited palette of perhaps eight to sixteen colours often produces more cohesive results than an unrestrained rainbow. To suggest depth on flat surfaces, apply subtle shading by darkening pixels facing away from an implied light source and adding highlights where light would naturally catch an edge or ledge. This dithering technique, alternating pixels of two similar tones, can mimic gradients without resorting to smooth blends that clash with the pixelated style. Tools like Adobe Firefly also let you experiment with customisable prompts, effects, colours, and tones if you want a quick visual reference before manually recreating the palette in Photoshop.
For anyone interested in exploring AI-assisted approaches alongside manual drawing, Firefly integrates smoothly with Creative Cloud applications including Photoshop and Illustrator, allowing generated pixel art to be refined further by hand. Free accounts include a set number of daily generations, whilst paid plans unlock higher volumes and access to additional partner models, with downloaded images capped at a resolution of two thousand by two thousand pixels. It is worth noting that users must be eighteen years or older to use the generator, and only one photo can be uploaded at a time for transformation.
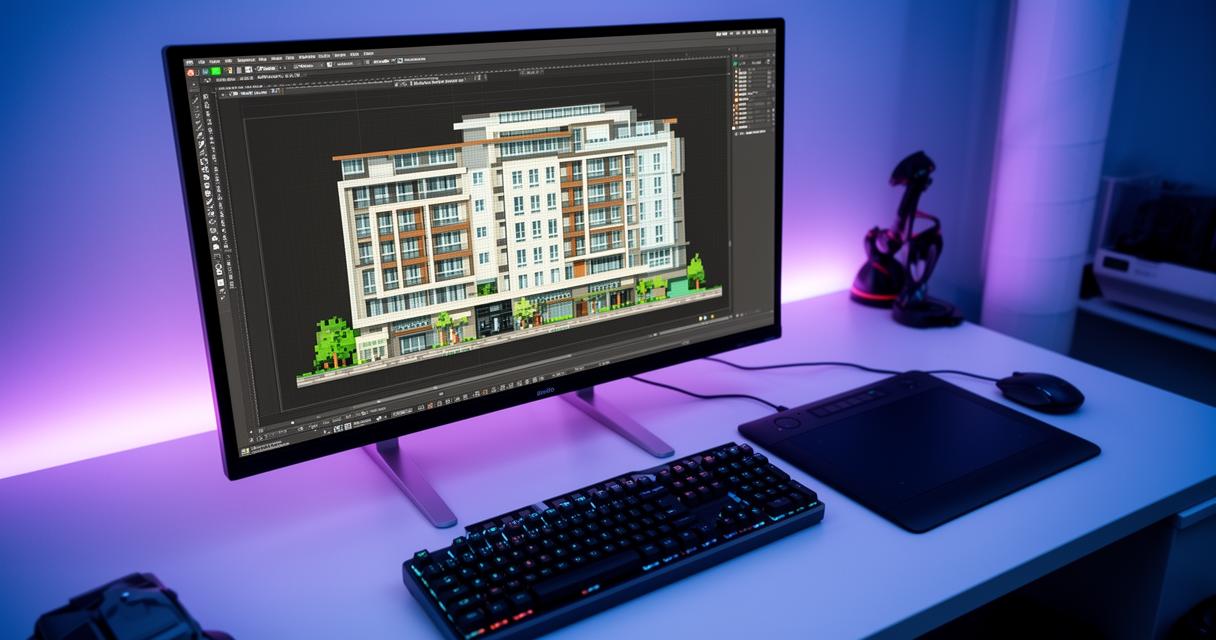
Drawing Inspiration from Blueprints and Historical Pixel Art Styles
Looking at real architectural blueprints can dramatically improve the believability of your pixel buildings, since understanding genuine proportions between doors, windows, and rooflines translates naturally into more convincing miniature structures. Study how classic video games from decades past handled architecture within severe technical constraints, as those early pixel artists mastered the art of suggesting enormous detail with remarkably few pixels. Numerous YouTube tutorials aimed at beginners walk through this entire process step by step, making them a brilliant supplementary resource alongside practical experimentation. Once your building feels complete, consider how it might sit within a broader scene, perhaps alongside other structures or a simple landscape, to give your finished piece a polished, modern aesthetic that showcases your growing pixel art skills to full effect.