Setting up a network-attached storage device for smooth 4K playback might sound daunting at first, but the Synology DS920+ makes the process far more approachable than you'd expect. Whether you're a complete beginner or someone who's dabbled with home servers before, this guide will walk you through everything from unboxing to streaming your favourite films in stunning detail.
Key points
- The Synology DS920+ functions as a powerful home server capable of handling media transcoding and multitasking thanks to its Intel Celeron processor.
- A stable wired ethernet connection is essential for the high bandwidth requirements of smooth 4K video streaming.
- Users should consult Synology's compatibility lists before purchasing drives, with SSDs recommended for improved data access and reduced buffering.
- The NAS features a tool-less tray design for easy drive installation and offers scalability through dedicated expansion units for growing storage needs.
- Plex Media Server can be installed via the Synology Package Centre to organize media libraries and automatically fetch metadata.
- The hardware's transcoding capabilities allow Plex to stream 4K content seamlessly to various devices, regardless of their native resolution support.
Getting Started: Unboxing and Initial Setup of Your DS920+
What's in the Box and Essential Components
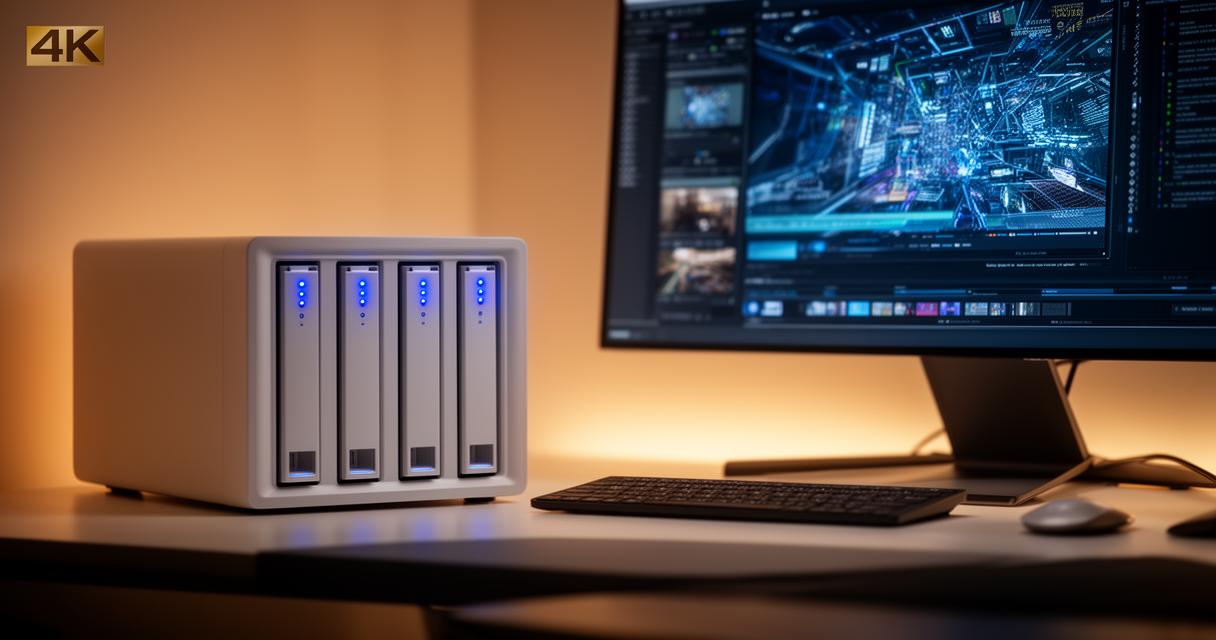
When you first open the box, you'll find the DS920+ unit itself alongside a power adapter, network cable, and a handful of screws for mounting your drives. It's worth taking a moment to inspect everything before diving in, just to make sure nothing's missing or damaged in transit. The unit itself feels solidly built, with a compact design that belies the power packed inside. At its heart sits an Intel Celeron processor running at 2.0 GHz, which handles the heavy lifting required for transcoding and multi-tasking without breaking a sweat.
This little device is more capable than many people realise. It's not just a glorified external hard drive; it's a proper home server that can juggle several jobs simultaneously, from serving up your media library to backing up your family photos. Getting acquainted with the physical layout before you start plugging things in will save you a bit of head-scratching later on.
Connecting Your DS920+ to Your Network via LAN
Once you've had a look inside the box, the next logical step is getting your NAS talking to your home network. You'll want to connect it directly using an ethernet cable rather than relying on Wi-Fi, as a wired connection provides the stability and bandwidth that 4K streaming demands. The DS920+ comes equipped with GBE ports, and using these properly ensures you're getting the fastest possible speeds between your NAS and your router.
After plugging everything in, powering up the device should trigger an automatic discovery process on your network. Synology's setup wizard, accessible through a web browser, will guide you through the initial configuration, including creating an admin account and choosing a name for your device. It's a fairly painless process, and within a few minutes, your DS920+ should be ready for the next stage.
Optimising storage: installing drives and expanding capacity
Selecting Compatible Disks and SSDs for Peak Performance
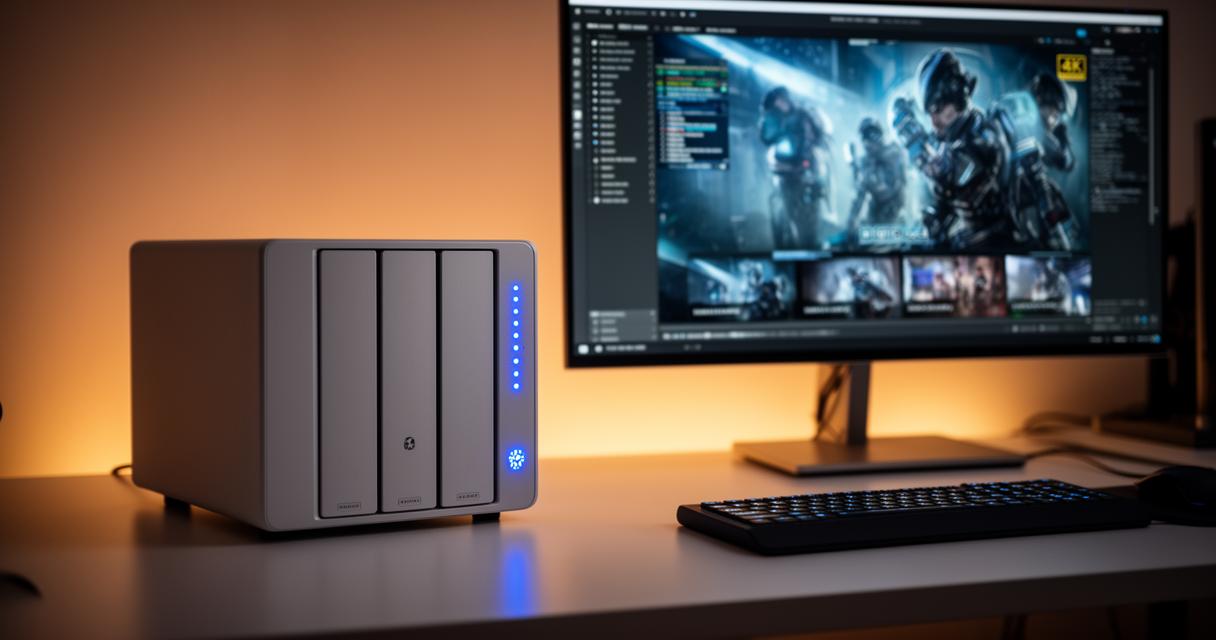
Now comes one of the more important decisions in this whole setup: choosing the right disks. The DS920+ supports dual-bay storage as standard, meaning you can install two drives right out of the box to boost your overall capacity. It's essential that you check compatibility lists before purchasing, as not every disk on the market plays nicely with Synology hardware, and using unsupported drives can lead to frustrating loading issues down the line.
If you're serious about performance, particularly for smooth 4K playback with minimal buffering, it's worth considering adding SSDs into the mix. Solid-state drives offer considerably faster data access and retrieval speeds compared to traditional spinning disks, which translates directly into a snappier experience when browsing your media library or jumping between scenes in a film. Many users opt for a hybrid setup, using SSDs for caching purposes whilst relying on larger capacity hard drives for bulk storage.
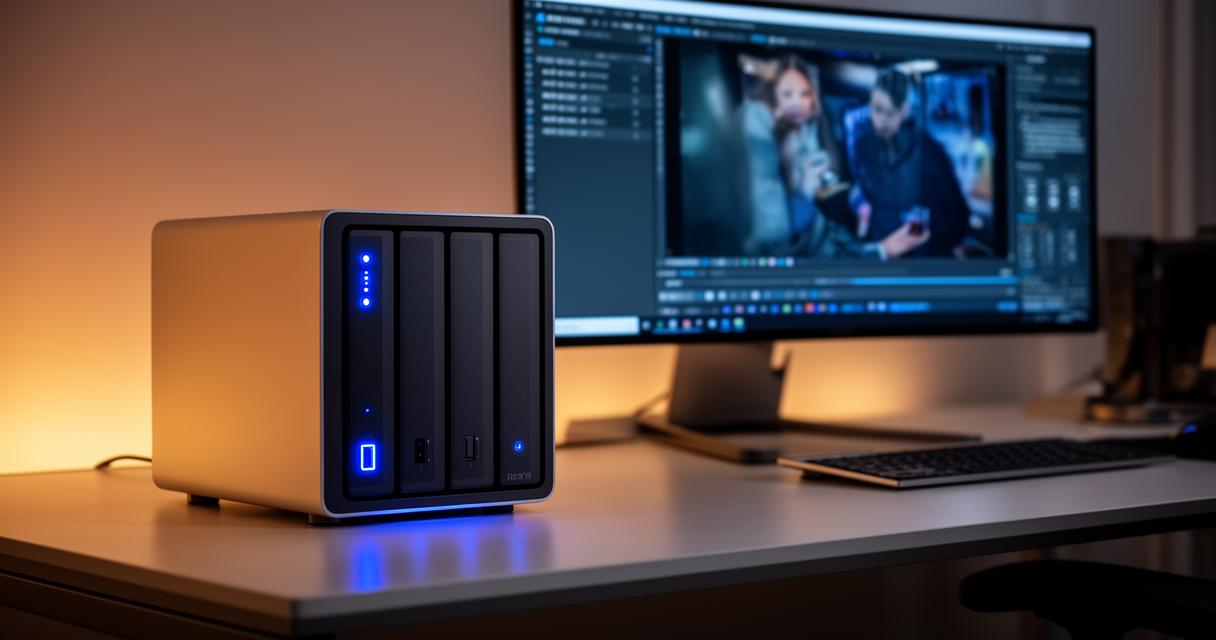
Installing the drives themselves is refreshingly straightforward. The DS920+ uses tool-less trays for most standard drives, so you simply slot the disk in, secure it, and slide the tray back into the bay. For smaller form-factor drives, you might need those screws we mentioned earlier, but either way, the whole process shouldn't take more than a few minutes per drive.
Adding extra bays to scale your storage requirements
One of the genuine strengths of this particular NAS is its scalability. If two bays start to feel a little cramped as your media collection grows, Synology offers expansion units that let you add extra bays without needing to replace your entire system. This is a brilliant option for anyone who suspects their storage needs will increase over time, whether that's due to accumulating more films, expanding a photography archive, or simply wanting more breathing room for backups.
- Expansion units connect via a dedicated port on the rear of the DS920+
- They're recognised automatically and integrated into your existing storage pool
- No need to migrate data manually between systems
Purchasing additional bays before you desperately need them is generally the smarter approach, as it means you won't be scrambling to move files around when you're already running low on space.
Configuring plex media server for seamless 4k streaming
Setting Up Plex to Organise and Stream Your Media Library
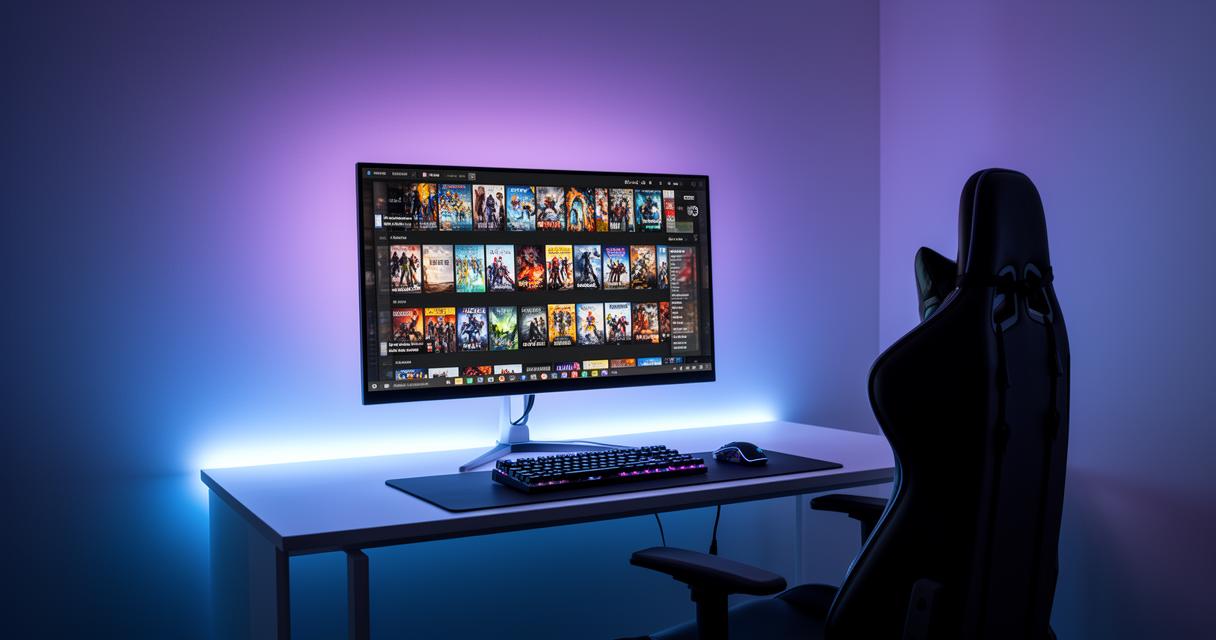
With your storage sorted, it's time for the fun part: getting your media organised and ready to stream. Plex is arguably the most popular choice for this job, and installing it on your DS920+ is done through Synology's own Package Centre, which functions a bit like an app store for your NAS. Once installed, Plex will scan your designated folders and automatically pull in artwork, descriptions, and metadata for your films and shows, turning a messy folder structure into something that looks genuinely polished.
The beauty of running Plex on this hardware is that the Celeron processor can handle transcoding on the fly, meaning you can stream 4K content to devices that might not otherwise support that resolution natively. Whether you're watching on a smart TV in the living room, a laptop whilst travelling, or a tablet in bed, Plex adjusts the stream quality according to your connection and device capabilities, so buffering becomes far less of an issue.
Setting up user profiles within Plex also means different family members can have their own watch histories and recommendations, which is a nice touch if multiple people are sharing the same server.
Ensuring secure backups and regular system updates
It would be a shame to build such a capable media setup and then neglect the basics of keeping it safe. The DS920+ isn't just useful for streaming; it's also an excellent tool for safeguarding your important documents and multimedia files against loss. Setting up automated backup tasks, whether to an external drive or a cloud service, means you're protected even if something goes wrong with the physical hardware.
Security shouldn't be an afterthought either. Regularly checking for firmware updates through the DSM interface ensures you're patched against any known vulnerabilities, and enabling two-factor authentication adds an extra layer of protection for your admin account. Taking these precautions regularly, rather than as a one-off task, means your NAS remains both a reliable streaming hub and a trustworthy backup solution for years to come.